- Email orientflex@orientrubber.com
- WhatsApp / Phone+86 180 3186 9514
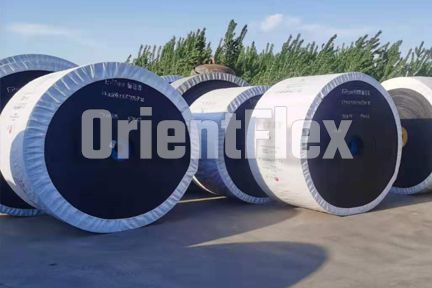
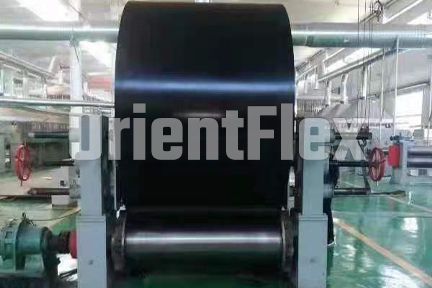
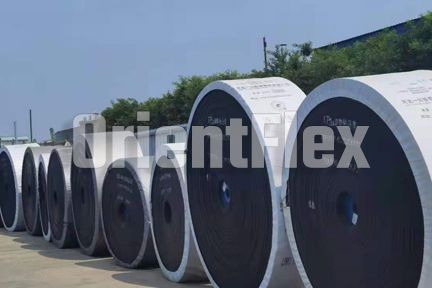
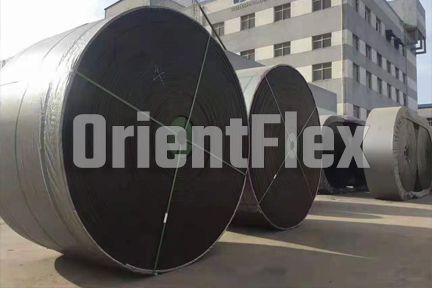
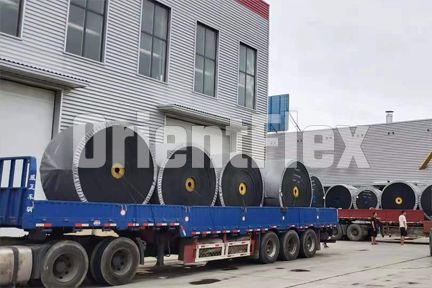
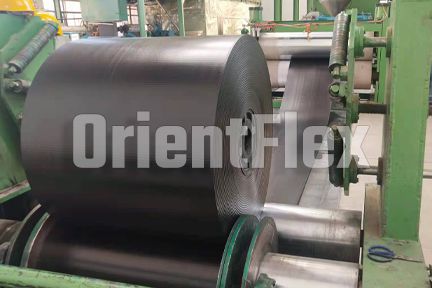
The fabric core conveyor belt is designed for conveying various special performance items and conveyor belt core skeleton structure in different regions and environmental conditions. with core. It can be applied to different regions, different hot and cold conditions, and different conditions for conveying bulk materials such as various grains, chemical products, etc.
First, the manufacturing method of the joint is the same as the manufacturing method of the thermal vulcanization bonding, except that the step width requires the step width of the thermal vulcanization bonding. Use good quality cold glue to connect the joints.
1. Set up a workbench (or a large workbench) that can flatten and fix the end of the belt.
2. Determine the joint length according to the width, length, strength and inclination of the conveyor belt.
3. Wipe the ends of the belt clean and draw a center line according to the width of the belt.
4. Use the center line to find the vertical line of the belt, then draw the angle line (the angle is 16.7°C, which is what you get using width x 0.3). Then draw joint segments.
5. Mark the length and angle of the steps on the edge of the tape and note the direction of travel.

1. On both ends of the overlay on the load bearing surface of the tape and both ends of the overlay on the rounded surface, cut and peel a 40mm length of overlay to reveal the first layer of fabric. Cut diagonally to less than 45 degrees, but be careful not to damage the inner fabric layers.
2. Peel each fabric layer in turn from the step at the end of the tape to create a lapped step and do not damage the fabric layer on the next side. The fiber fabric layer can be cut with a layering knife to avoid damage to the fiber fabric layer underneath, and can be peeled off using a clamp and a pulling guide machine.
3. After preparing the first tape joint, unroll it on the workbench, then properly lap the other end of the tape over it according to the lap length, using the processed step instructions as a model. To this end, the step of drawing the segments, cutting and peeling the fabric layers according to the above steps, and also forming the corresponding overlapping steps.
4. After cutting, use a sander to lightly sand without damaging the fabric layer.
5. Sweep the polished particles away with a brown brush, then use a large blow dryer to blow them away. (Particles and dust on bench tape)
1. Adjust the ratio of cold adhesive SC2002 and curing agent R40 to 100:4, and stir the mixture thoroughly until uniform.
2. Apply the mixed cold adhesive SC2002 to both ends evenly and carefully, and apply pressure when brushing to ensure that the glue can penetrate into the fabric layer, and the thickness of the application should be uniform.
3. After the first coat of cold glue is completely dry, apply the second coat of cold glue evenly (try the dry method with the back of your hand).

1. Wait for the first pass of the adhesive to be in a semi-dry and wet state (try the dry method with the back of your hand).
2. Put a non-stick nylon cloth over the lower tape joint, cover the upper tape joint over the nylon cloth, and adjust the center line of the tape to adjust each edge of the chain. Step adjustment (step gap should not be greater than 2mm) does not overlap.
3. After confirming that the tape is aligned, fix both sides of the tape on the workbench with clips, slowly pull out the nylon cloth, and then push from the middle to both sides to expel the internal air. Then use a rubber mallet to press firmly from the middle of the joint to the sides (hammer at least 2 times).
4. Fill in the appropriate covering glue (1mm lower than the original covering glue surface), and then press the covering back and forth with the pressing wheel.
5. Finally, apply cold adhesive to the glued seams on both sides, and fill the top and bottom with glue.
You can contact or visit us in our office from Monday to Friday from 8:00 - 18:00
